Design guide · PDCPD-RIM tooling
12 checks before you cut a PDCPD mold
PDCPD runs at low cavity pressure, so aluminium tools are the norm. That low pressure also means the mold, not the press, decides whether a part fills cleanly. These are the checks we run on every design.
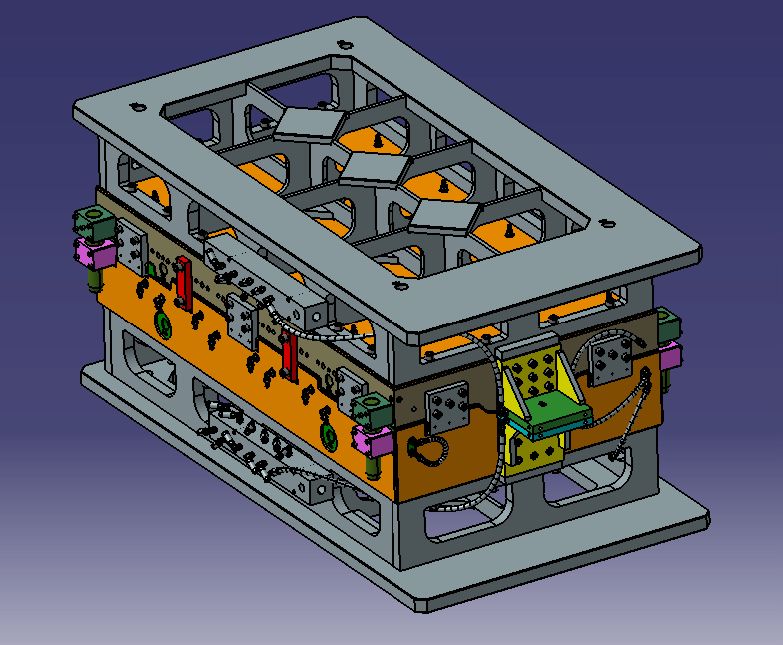
Part geometry
- Add draft on enclosed walls. A part with walls on all four sides grips the core. Increase draft on those walls; demolding problems are cheaper to fix on screen than on the press.
- Keep screw bosses at 3 mm wall or less. Thicker bosses show sink marks on the class-A side.
- Use the core to fine-tune wall thickness. Raising the core surface by about 0.2 mm is a simple way to bring a thick panel back to target thickness.
- Analyse ribs together with the gate. Rib direction should follow the flow from the gate, not fight it.
Filling and venting
- Plan the venting path first. Decide where the air leaves before deciding where the resin enters.
- Watch concave parts molded upright. Vertical concave shapes trap air at the top. Change the tilt or add vents at that point.
- Match injection speed to the part. Flat parts tolerate a faster shot. Complex parts with many ribs need a slower one.
- Balance flow rate against back pressure. A smooth cavity and moderate flow keep the front laminar. Too slow, and there is not enough back pressure, which brings turbulence back.
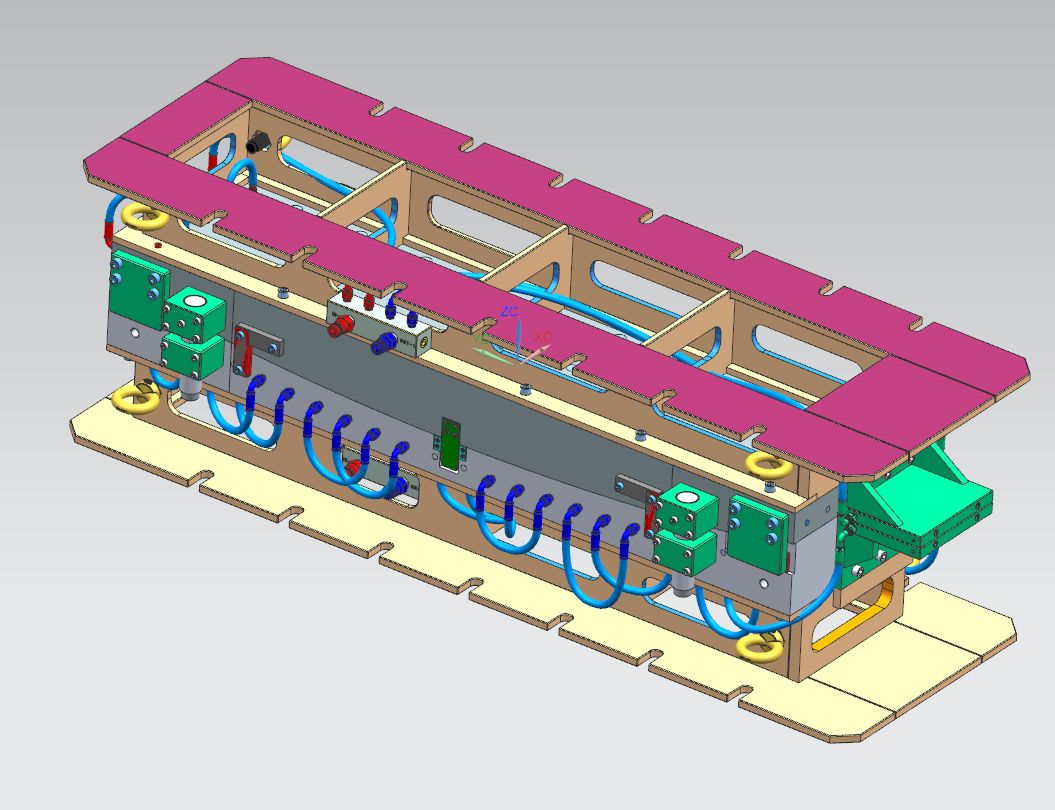
Mold structure
- Locate long molds on the long-side centerline. It keeps wall thickness even along the part.
- Feed cooling water from the lowest point. Circuits that fill from below purge air and cool evenly.
- Protect core pulls. Use cylinders with magnetic position sensors, define the cylinder sequence, and mark the core-pull return position. Long slides need extra stiffness or they deflect.
- Design for handling. Add balance weights for level lifting, error-proofing marks, and plan five-axis machining for tools with large height changes.
Want these checks run on your part? Send a STEP file and we will return a written DFM review free of charge. Contact us.